

Set up single sign-on
Also known as: SSO, single sign-on.
Enterprise Auth lets your organisation sign in to Belrald Assets with its own identity provider, provision people automatically, and restrict members to the part of the location tree they are responsible for.
Everything lives in Settings → Enterprise Auth, across four tabs: Connections, Domains, SCIM and Scopes. The page is visible to owners and admins only, and offers an Upgrade action if your plan does not include it yet.
Claim your email domain first
Section titled “Claim your email domain first”A connection only applies to domains you have proved you own.
- Open the Domains tab and select + Add domain.
- Add the DNS TXT record shown to your domain’s DNS.
- Select Verify. If DNS has not propagated, use Re-check a few minutes later.
The domain moves from Pending to Verified. Domains are globally unique, so nobody else can claim one you already own.
Create the connection
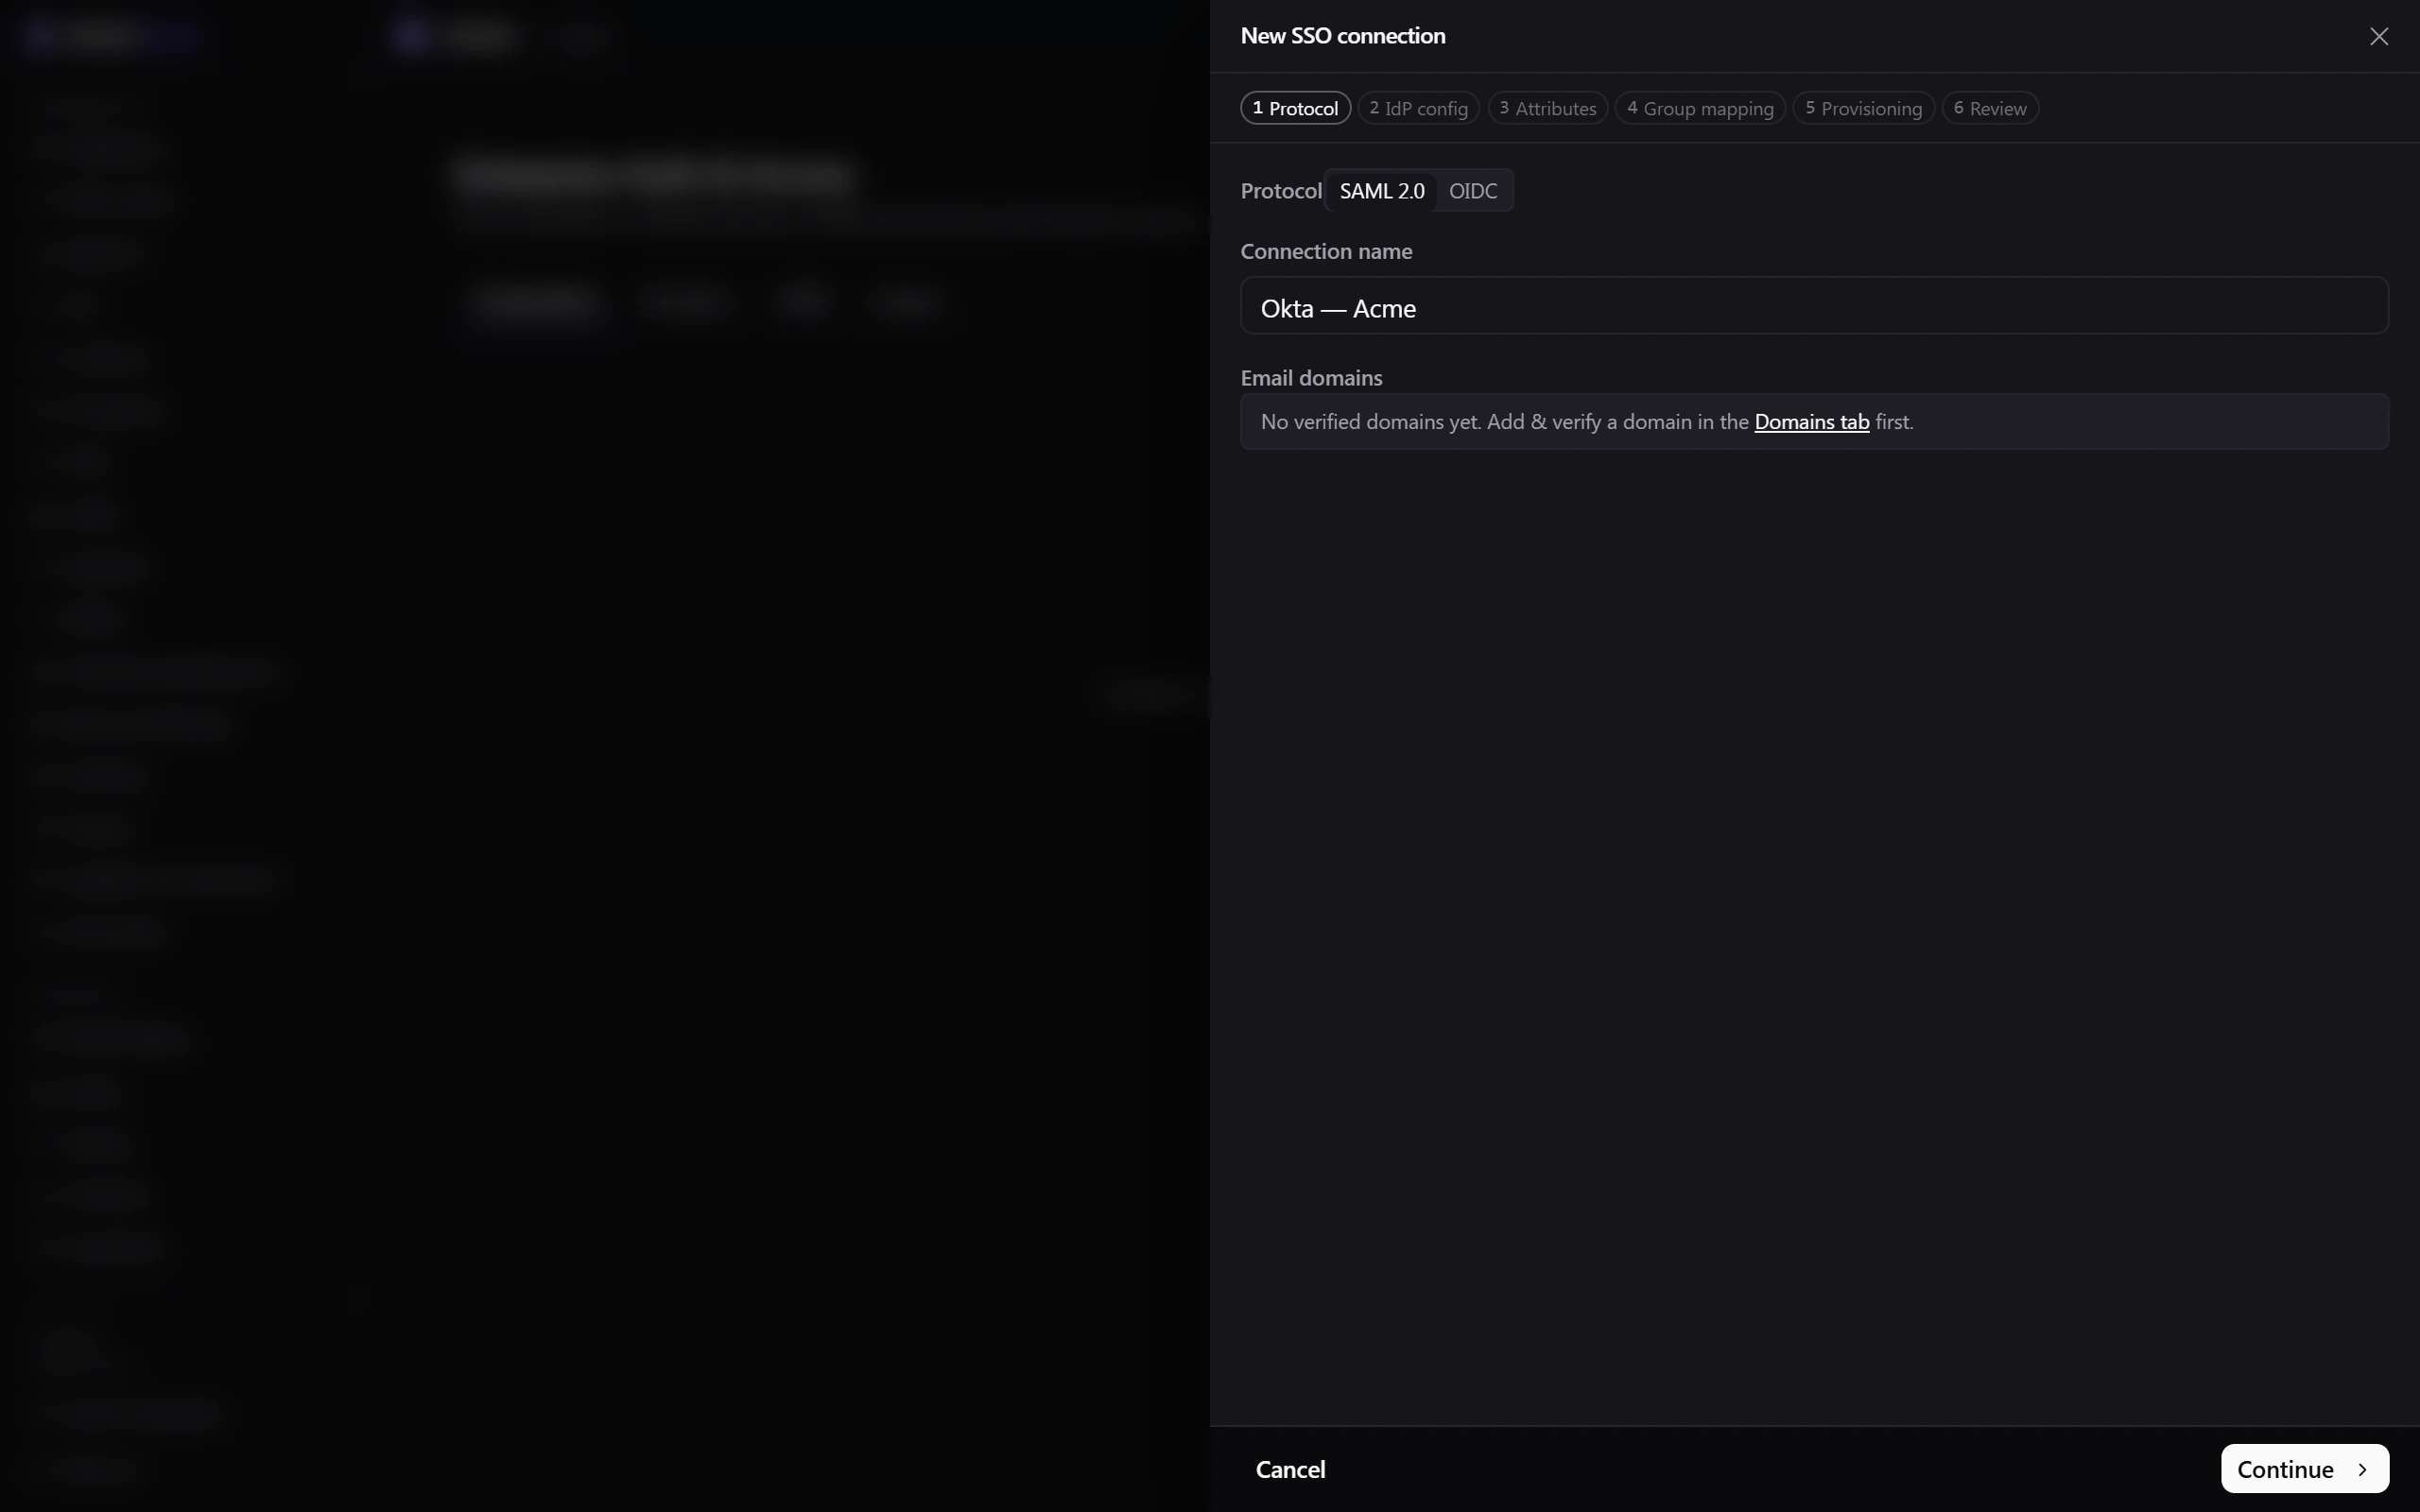
Section titled “Create the connection”- Open the Connections tab and select + New connection.
- Protocol — choose SAML 2.0 or OIDC, give the connection a name, and list the email domains it covers.
- IdP config —
- For SAML, enter the entity ID and sign-on URL, then supply either a metadata URL or the signing-certificate fingerprints.
- For OIDC, enter the issuer, client ID and client secret.
- Attributes — map your provider’s claims. The email attribute is required; first name, last name, groups and roles are optional.
- Group mapping — map an identity-provider group to a Belrald Assets role, and optionally to a location scope.
- Provisioning — choose whether to create users on first sign-in (just-in-time), pick the default role, and turn on SCIM if you want your provider to push users and groups.
- Review what you entered, then select Save.
- Select Run test and complete a sign-in with a real account.
- Only once the test passes, select Activate.
The connection’s status moves from Pending to Active, and you can set it back to Disabled at any time.
Turn on SCIM provisioning
Section titled “Turn on SCIM provisioning”Open the SCIM tab and select Enable SCIM. Copy the token into your identity provider immediately.
Deactivating a user in your provider deactivates their Belrald Assets membership.
Scope members to part of the location tree
Section titled “Scope members to part of the location tree”On the Scopes tab, set a member’s access to Whole account or Specific locations. A scoped member sees the locations you choose and everything beneath them, and nothing else. Scopes follow the tree: move a location and the scope follows.
Was this page helpful?
Thanks — your feedback helps us improve these guides.