

Create a work order
Also known as: WO, work order.
A work order is how you turn a maintenance job into tracked, assignable work. Managers and technicians raise work orders directly; tenants and occupants never create one — their reports come in as requests that a manager promotes.
Follow these steps to create a work order.
Create the work order
Section titled “Create the work order”- In the sidebar, select Work orders.
- Select New work order.
- In Title, describe the work in a few words — for example, “Replace HVAC compressor — Block A”.
- Add a Description (optional) with any detail the technician needs.
- Choose a Category (required) — Corrective, Preventive, Predictive, Inspection, Calibration, Improvement, Safety, or Request. It drives reporting, so pick the closest match.
- Set the Priority. Priority drives the order technicians see work in, so reserve Urgent for safety or business-critical faults.
- Choose the Location where the work happens. A work order covers a single location, even when it spans several assets.
- Under Assets, add one or more assets the work applies to. Add every asset you’ll touch so downtime and cost roll up correctly.
- Select Create work order.
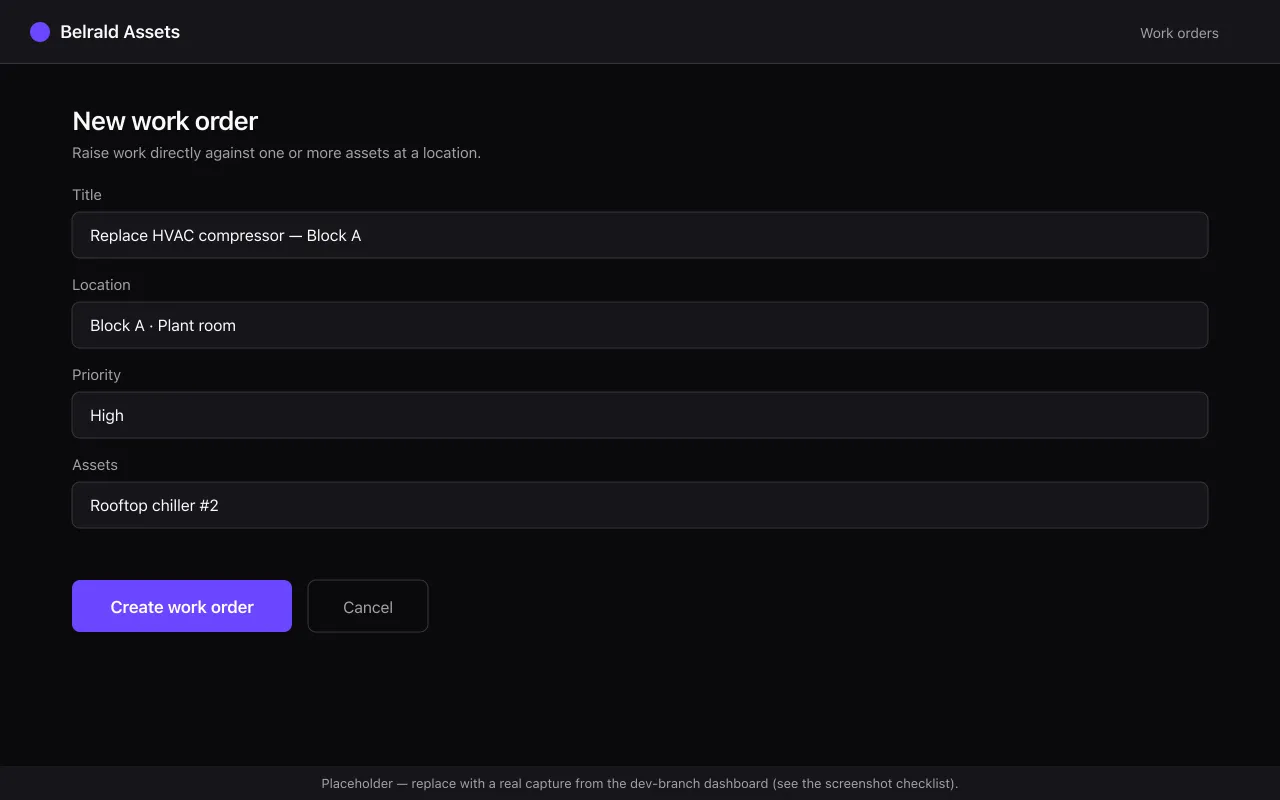
The work order opens with the status Open, ready to assign.
Assign and schedule (optional)
Section titled “Assign and schedule (optional)”You can fill these in now or after the work order is created:
- Assignee — the technician or vendor who will do the work.
- Due date — when the work should be finished. Due dates feed your scheduling and SLA views.
- Procedure — a checklist the technician completes before the work order can be resolved.
What happens next
Section titled “What happens next”The work order moves through your board’s statuses — Open → In progress → Resolved → Closed by default — as work proceeds. An administrator can rename or add statuses, so your board may differ; see the work order statuses reference for the full list. Costs from labour, parts, and vendor invoices roll up onto the work order as they’re logged.
Was this page helpful?
Thanks — your feedback helps us improve these guides.